In most cases, the card image will be the same for each recipient. However, there may be some cases where you want to customize the card to a specific guest before sending. When this feature is enabled, Greenvelope allows you to edit text and images on the card when sending to a single contact. This feature is always on when sending Thank You Notes.
Part 1: Set up a "base" design template
Step 1: Click the “Design” step.
Step 2: Click the “Edit Card” section.
Step 3: Set up your base template using our card builder tool. You will be able to customize further on the "Send" step if you wish.

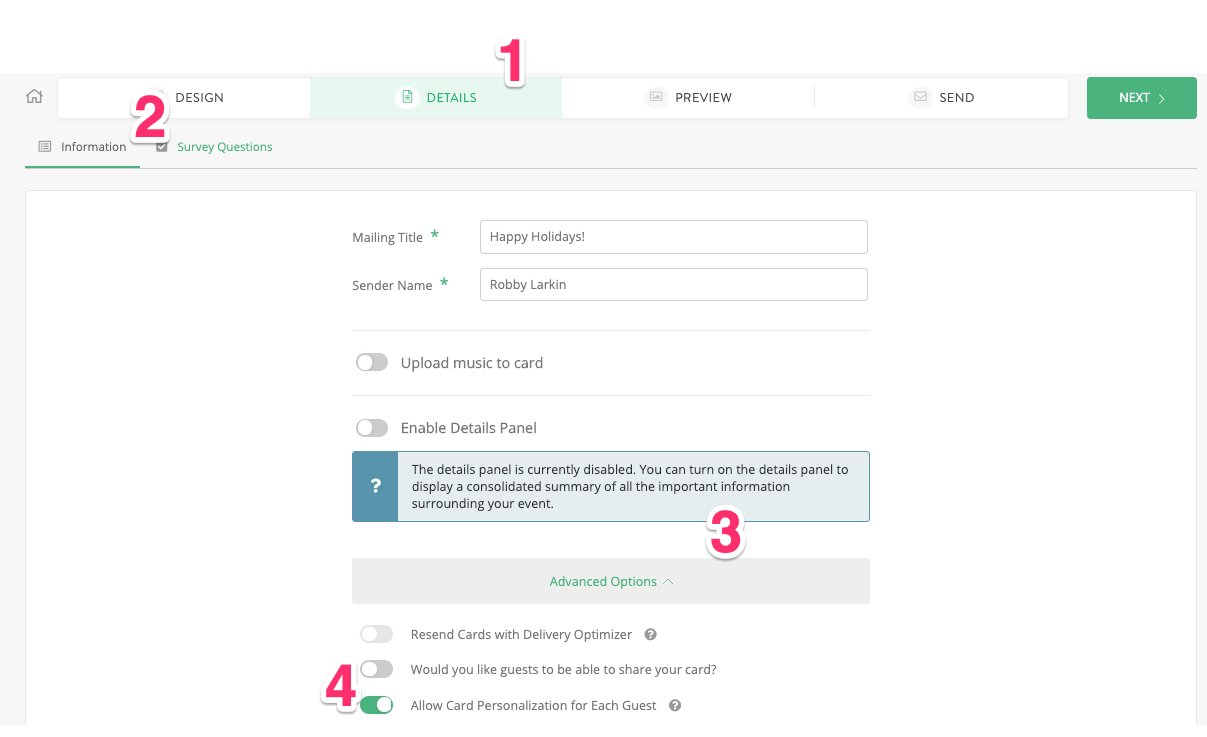
Part 2: Turn on Card Personalization
Step 1: Click the “Details” step.
Step 2: Click the "Information" section.
Step 3: Click the "Advanced Options" dropdown.
Step 4: Turn the "Allow Card Personalization for Each Guest" toggle on.
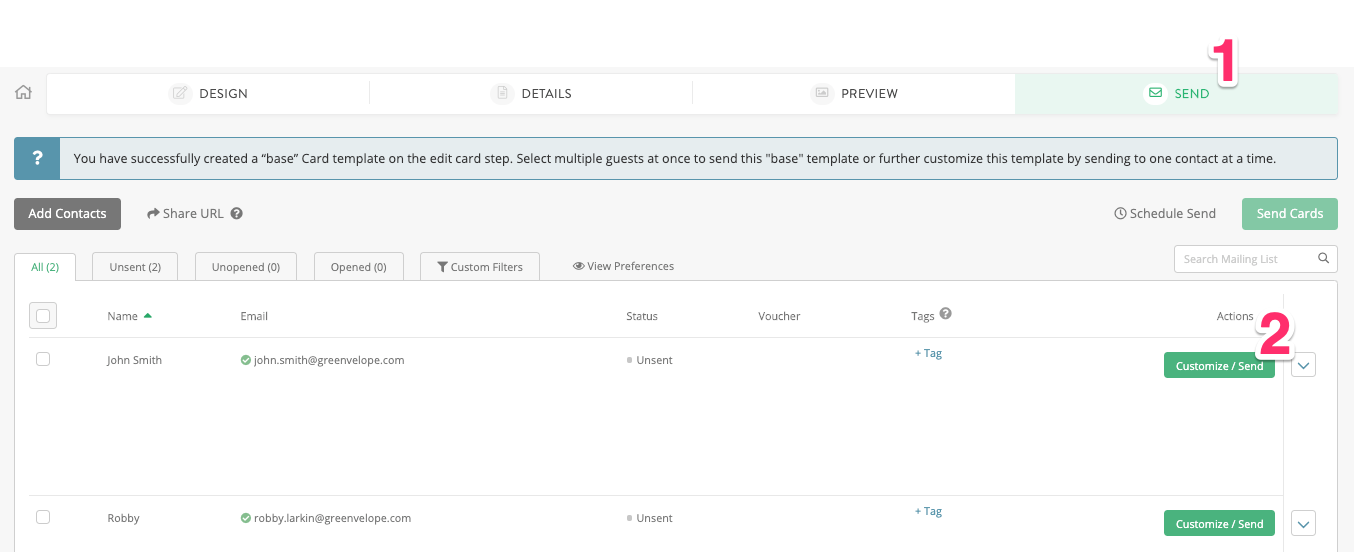
Part 3: Sending Personalized Cards
Once you have successfully created a “base” card template on the edit card step, and have turned on the personalization feature, you'll have a couple options once you arrive on the "Send" step. You can either select multiple guests at once to send this “base” template or further customize this template by sending to one contact at a time.
Step 1: Click the “Send” step.
Step 2: Click the "Customize / Send" button next to the contact you wish to send a customized card.
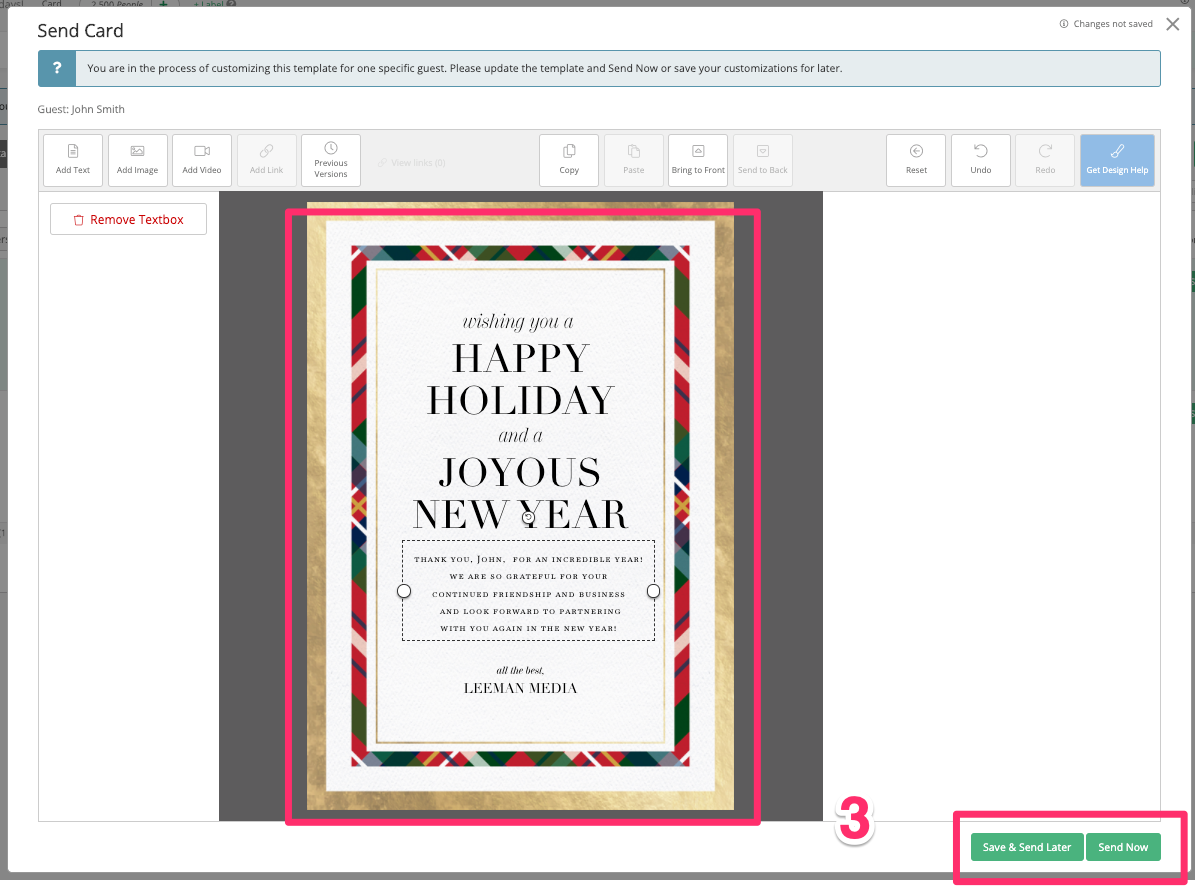
Step 3: Add customization to your card template in the resulting pop-up window, then choose to send your customized card now or save for later.